
Robohub.org
Make your own Dtto Modular Robot – Assembly instructions (Part 2 of 3)
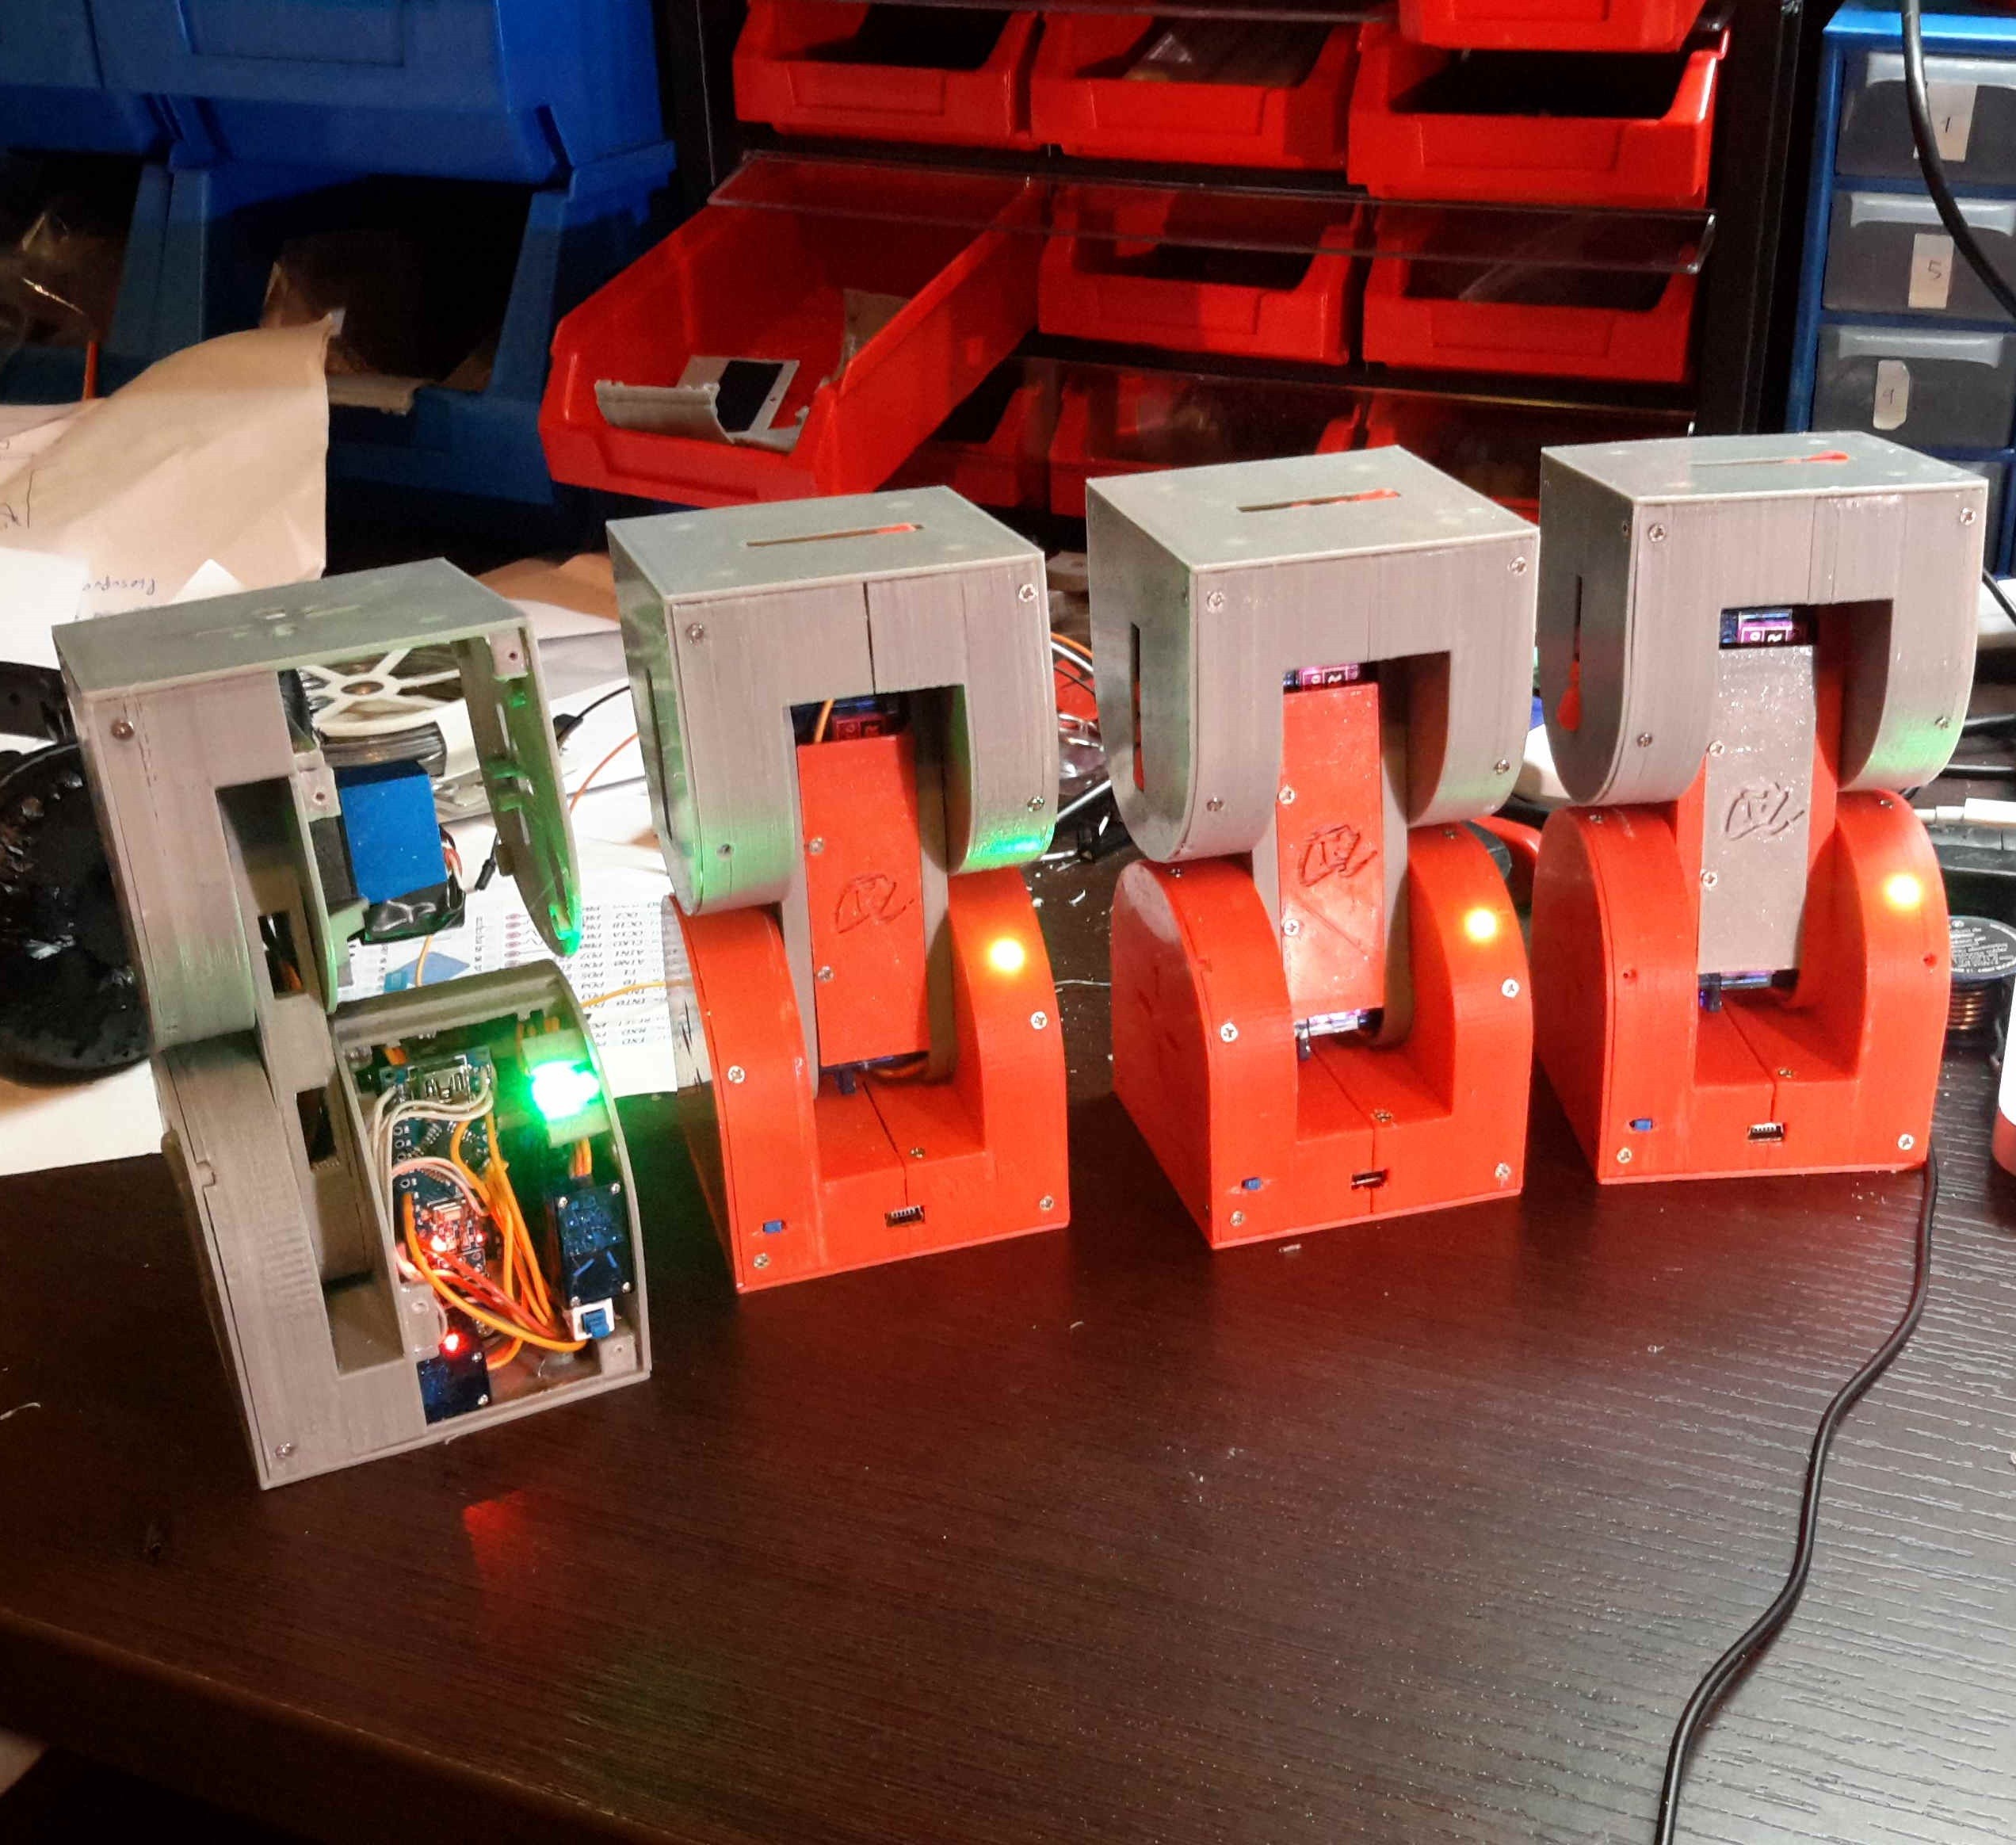
Dtto v.2 module robot, DIY project, photo by Alberto Molina.
Dtto v2.0 is a modular self-reconfigurable robot focused on bio-inspired locomotion mechanisms. This tutorial shows how to assemble a fully working Dtto Modular Robot module.
Please review Part 1 before getting started.
This document is an illustrated guide on how to assemble a module (v2) for the Dtto Modular Robot: https://hackaday.io/project/9976-dtto-v20-modular-robot
Now, let’s jump in for Part 2!
Step 7
We need:
- 1 x Part 005-1
- 1 x Part 007-1
- 1 x Part 009-1
- 12 x Neodymium Magnets
In this step, we put the magnets on the male parts. It is very important to put all the magnets in the male part with the north pole facing the inside of the module. Put the magnets in the holes, then put a drop of glue, sticking it to the part. For this procedure, use a hot glue gun.
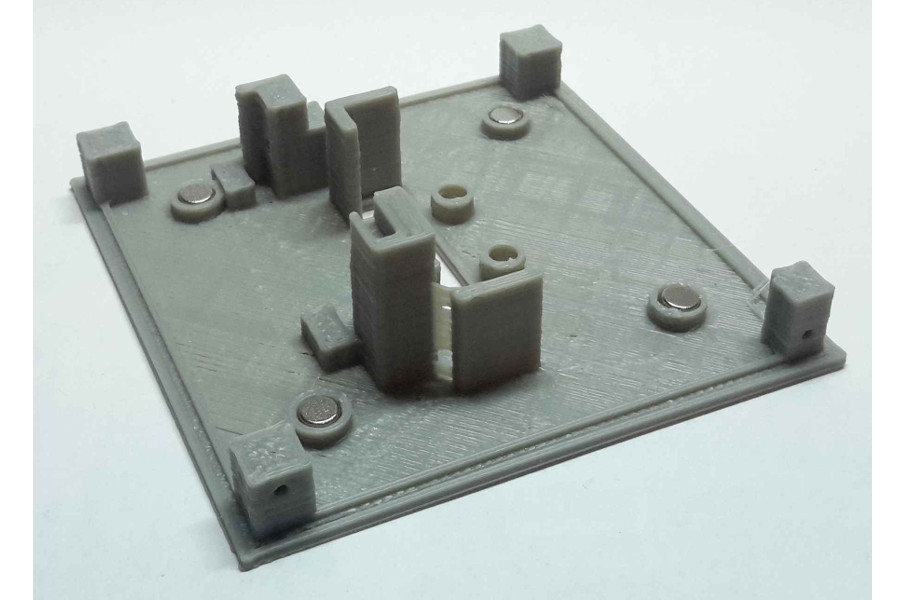
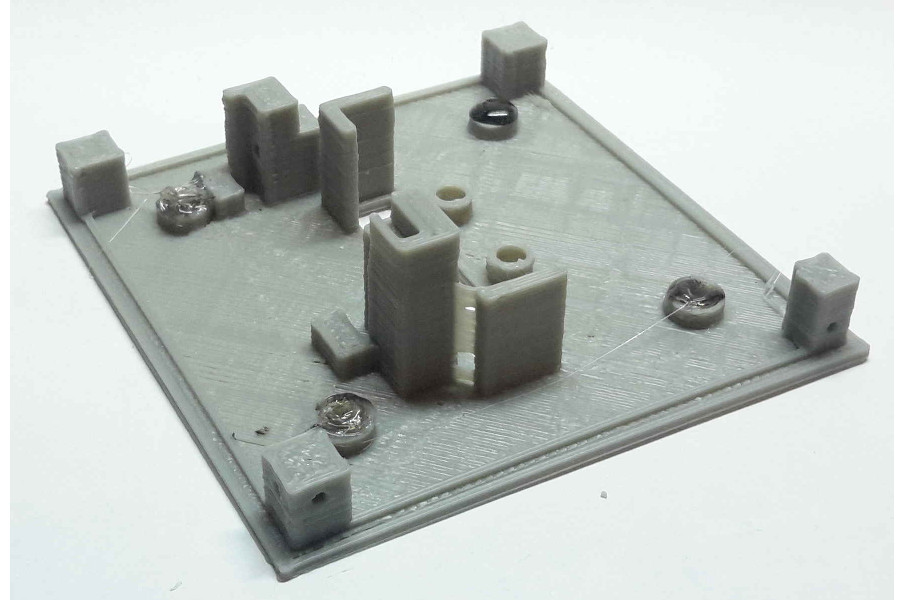
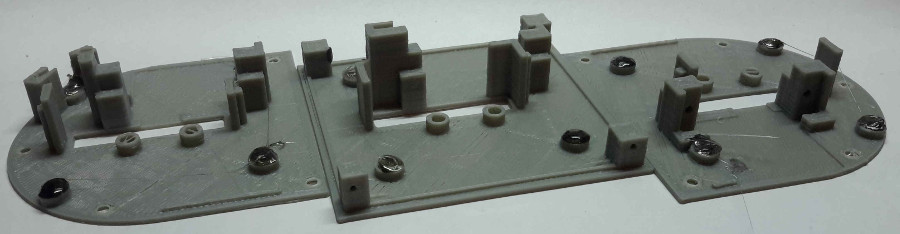
Repeat the procedure for the 3 parts:
Step 8
We need:
- 1 x Part 006-1
- 1 x Part 008-1
- 1 x Part 010-1
- 12 x Neodymium Magnets
As we did in the previous step, we will also put the magnets in the female parts. Remember to put all magnets with the north pole facing the outside of the module. If we do this correctly the male parts won’t stick between them, but a male and a female part will be magnetically attracted.
Step 9
We need:
- 3 x SG90 Servomotors
- 3 x Part 013-1
- 3 x Part 014-1
- 3 x Small rubber bands (dental braces)
In this step, we will prepare the coupling mechanism that holds the modules of the robot together.
First, insert the servo arm (previously cut, as in the pic) through the two printed parts. Ensure that these parts rotate freely around the servo arm. Put the servo in the 90° position (servo.write(90)).
Then, screw the parts, like in the picture, using the screw that came with the servo.
Finally, put the rubber band between the two parts.
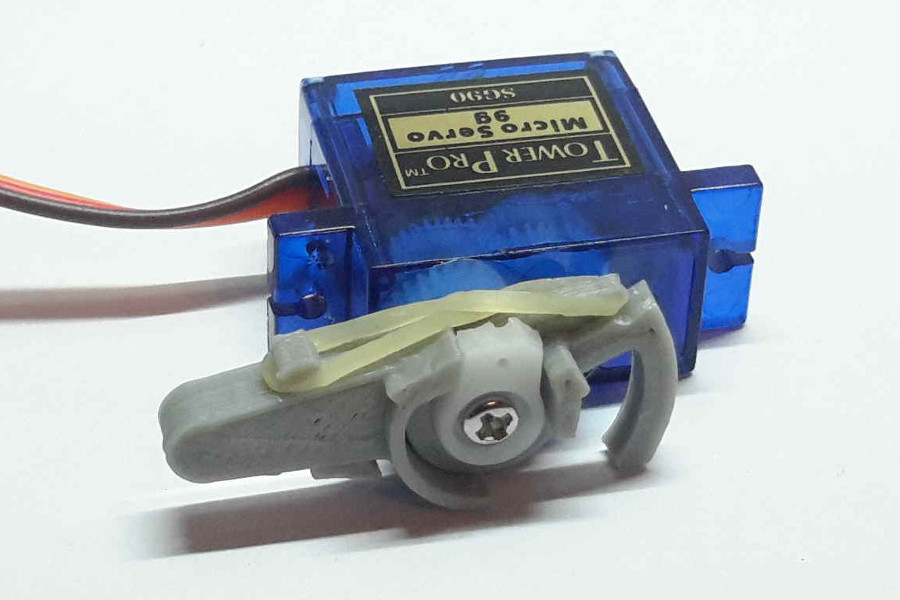
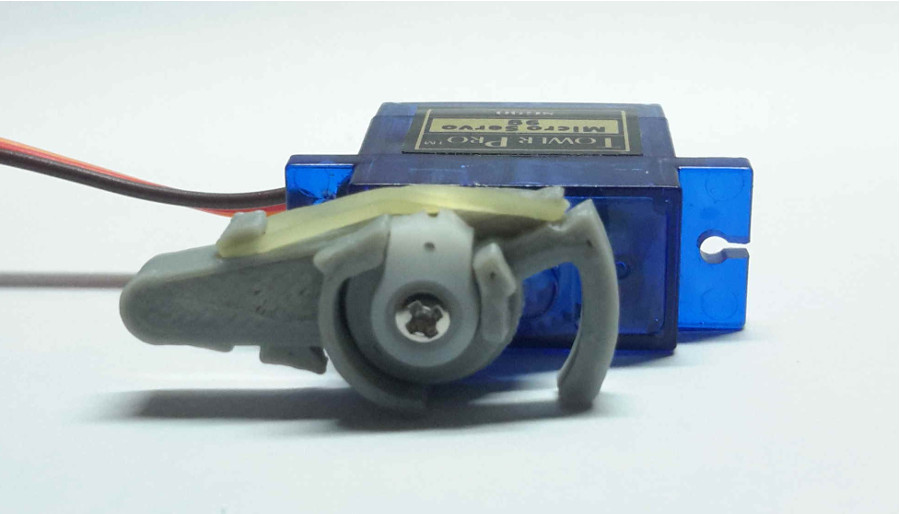
Repeat the procedure with the other 3 SG90 servomotors.
Step 10
We need:
- 1 x Part 005-1 (step 7)
- 1 x Part 007-1 (step 7)
- 1 x Part 009-1 (step 7)
In this step, we will fix the servos that form the coupling mechanism to the printed parts.
First, insert the servo in the correct position.
Then, using the 2 screws that came with the servo, fix it to the part.
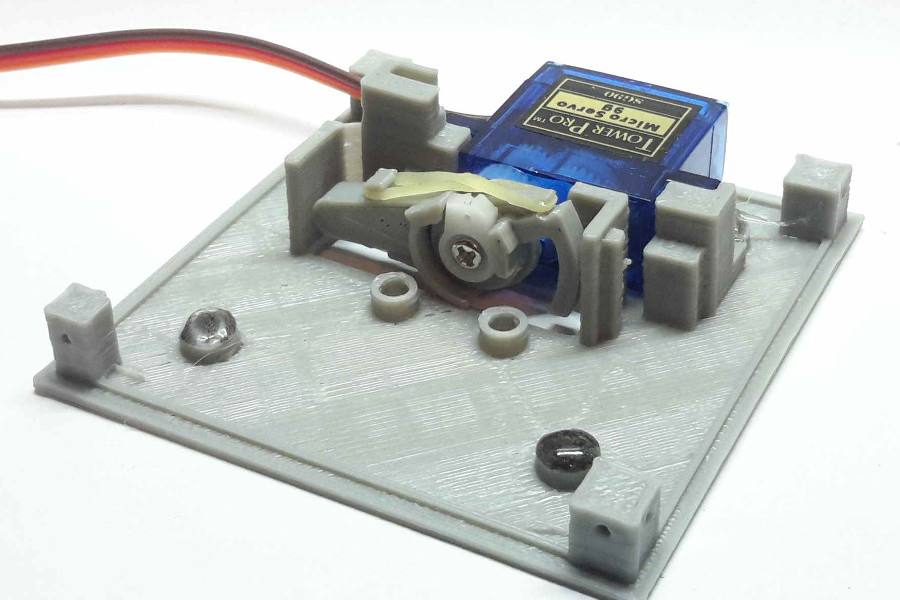
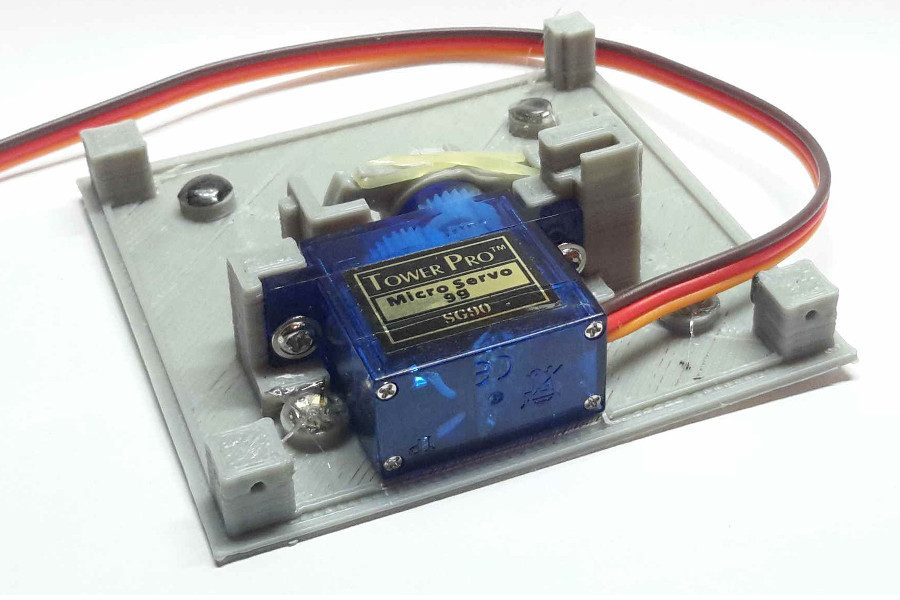
Repeat the procedure for the 2 parts left.
Step 11
We need:
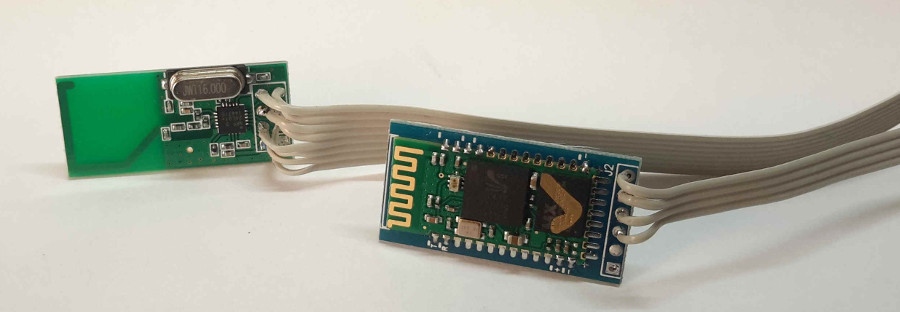
- 1 x HC-05 Bluetooth module
- 1 x NRF24L01 radio module
In this step, we will prepare the Bluetooth and the radio module.
Remove the pin headers to solder wire directly, thus reducing the total volume of the modules. Be sure to use a flat cable from an old PC, because there won’t be much space for cables.
Step 12
We need:
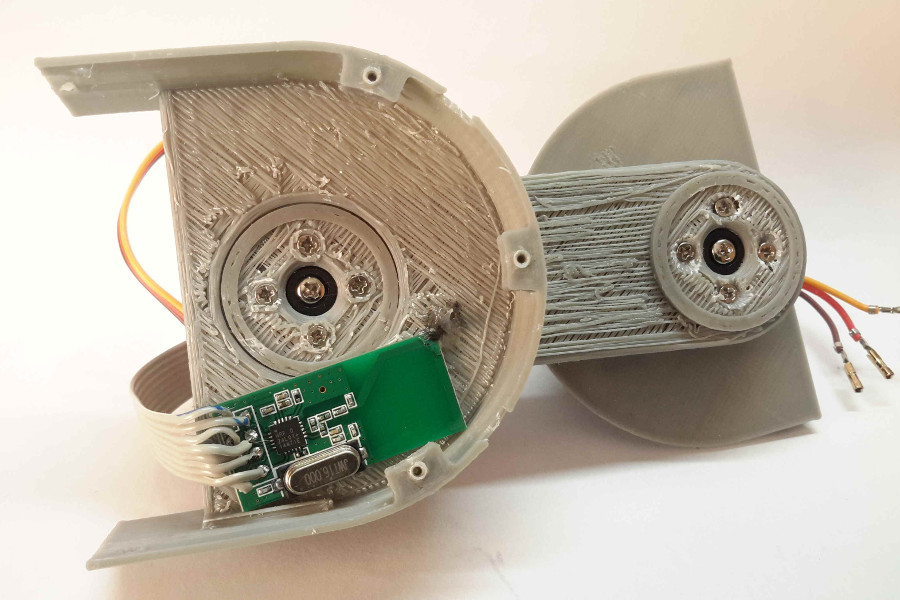
- 1 x NRF24L02 radio module (step 11)
Now, we are going to stick the radio module to its final position.
Due to the lack of space and the need to reduce weight, we decided to simply stick the module with some hot glue. Be sure the module doesn’t make contact with the moving part in the center. The cables go to the other side of the module.
Step 13
We need:
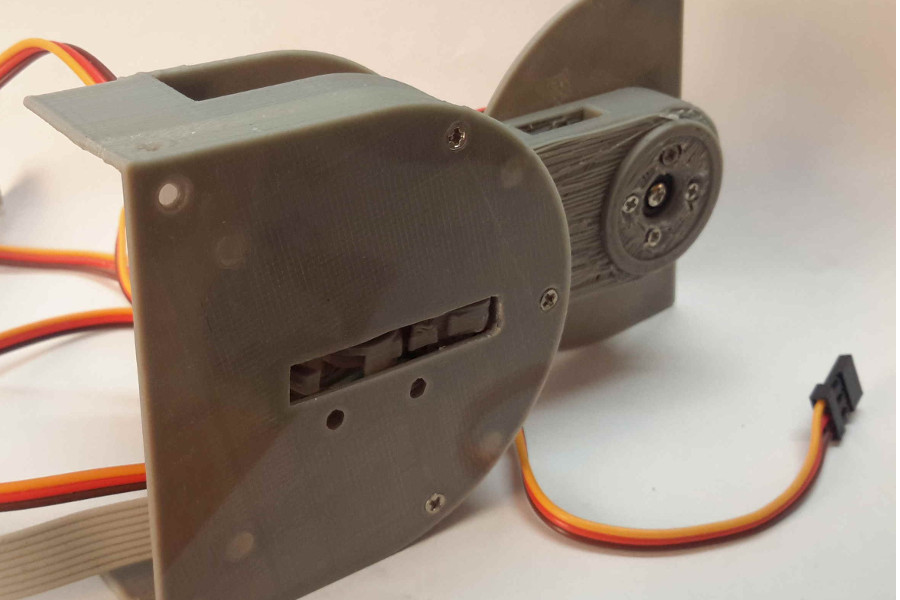
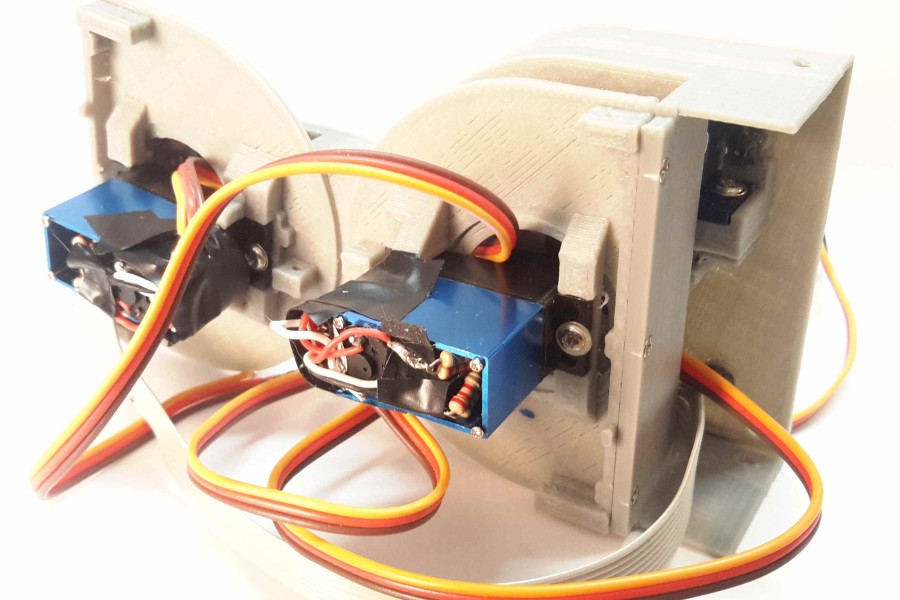
- 1 x Part 009-1 (step 10)
Using 3 screws, mount the motor-equipped part 009-1 to the body of the module. Ensure that the servo cables don’t contact the coupling mechanism.
Step 14
We need:
- 1 x Part 005-1 (step 10)
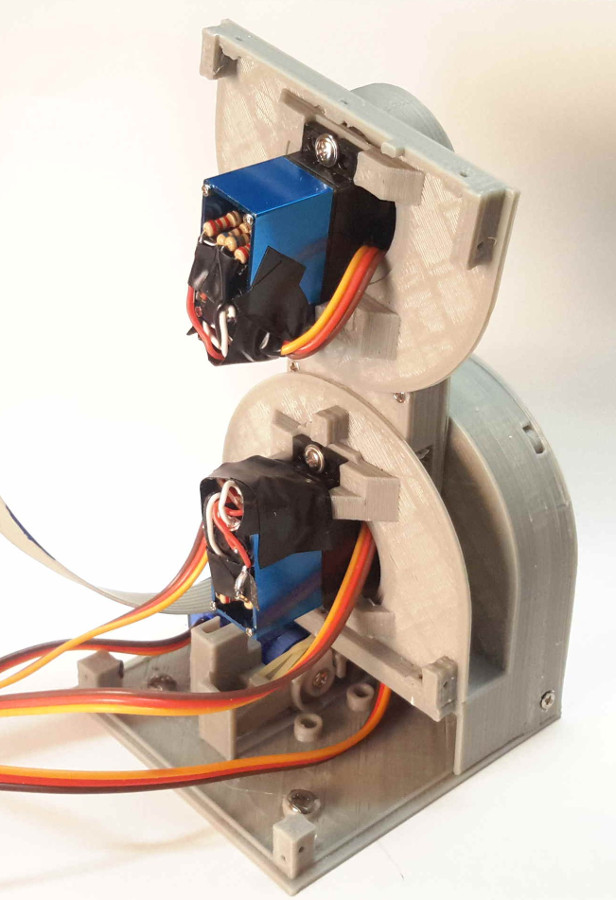
In this step, we will mount the “base” of the robot, part 005-1, with the previously mounted motor.
It’s important to note the size of the cables connected to the radio module (step 11), because they have to fit between the “base” servomotor and the top part.
We need 4 screws for this step.
Tomorrow, we will conclude the tutorial with Part 3: configuring the voltage regulator, the Arduino Nano, and final part assembly!
This project and all of its files, images and texts are entirely licensed under the CC BY-SA 4.0 license. (http://creativecommons.org/licenses/by-sa/4.0/legalcode).
If you liked this article, you may also want to read:
- Make your own Dtto Modular Robot – Assembly instructions (Part 1 of 3)
- Hello Pepper: Getting started to program robots on Android
- NASA Robonaut 2 simulation: Placing an ISS panel in The Construct
- How to make a printed circuit board using a diode laser with a 3D printer
See all the latest robotics news on Robohub, or sign up for our weekly newsletter.
tags: Alberto Molina, c-Education-DIY, DIY robotics

AUAI is supported by: