
Robohub.org
How to make a printed circuit board using a diode laser with a 3D printer
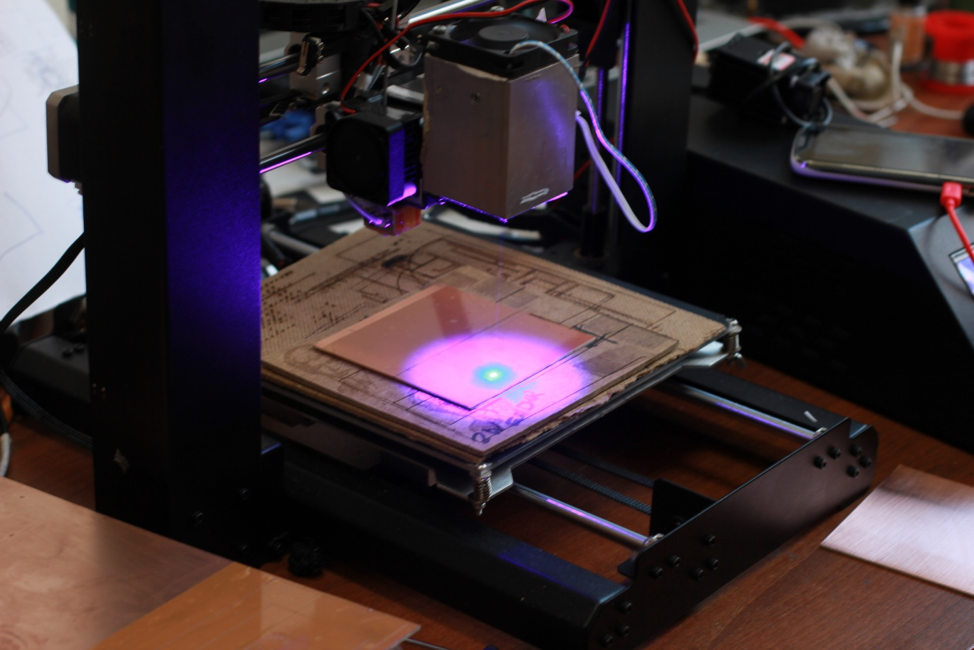
Source: George Fomitchev
3D-printers have opened endless possibilities for home production and rapid prototyping. You can easily create practically any model in a 3D-program and 3D print it. But until now, only a few people thought about the possibility to 3D print electronics for particular solutions (model).
Until recently, in order to make a circuit board for a prototype, you had to make it using a soldering iron, or order a short production run. However, many of us can make it using a conventional iron and a laser printer.
However, this process is not very pleasing aesthetically or technologically. In our article, we would like to present another method to use. 3D printers or DIY Engraver can use this method. You can install a diode laser on almost any 3D-printer, setting it as an addition or in place of the extruder. Diode lasers are small in size and compact. Their relatively small power output compared with that of CO2 lasers is not a drawback, in this case.
Here’s an example of how to assemble a DIY engraver:
Or a constructor of a makeblock plotter xy type:
What does the process of the circuit board manufacturing at home or in the office look like?
For this, we need a copperized glass fiber plate, any dark vinyl film (any dark film that a laser can burn through will fit), iron chloride (sold openly in stores of chemical reagents) and a diode laser installed on a 3D printer. Its power output is not too important, but we recommend using a diode laser of more than 2W (2000 mW).
By the way, installing a laser on any 3D printer is easy:
How to install it on an Ultimaker:
https://www.youtube.com/watch?v=soYh5Kyv4cs
Or, how to install on a WanHao DuPlicator i3:
https://www.youtube.com/watch?v=yf-uFAynGhM
Okay, let’s begin!
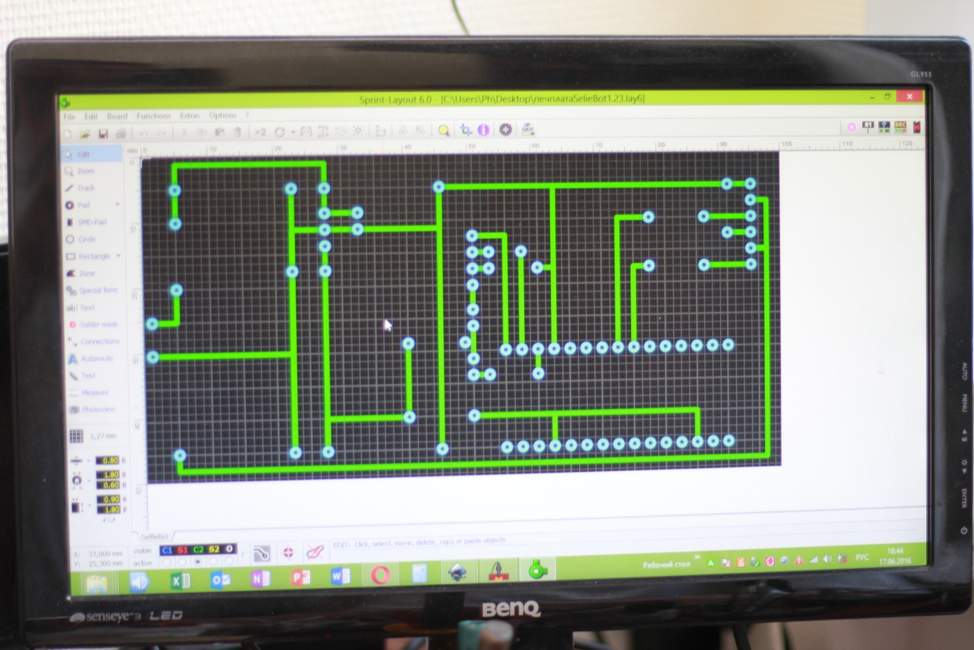
1) Create a circuit board model using any program of an InkScape type (inversion picture. Later, we’ll explain why inversion).
Source: George Fomitchev
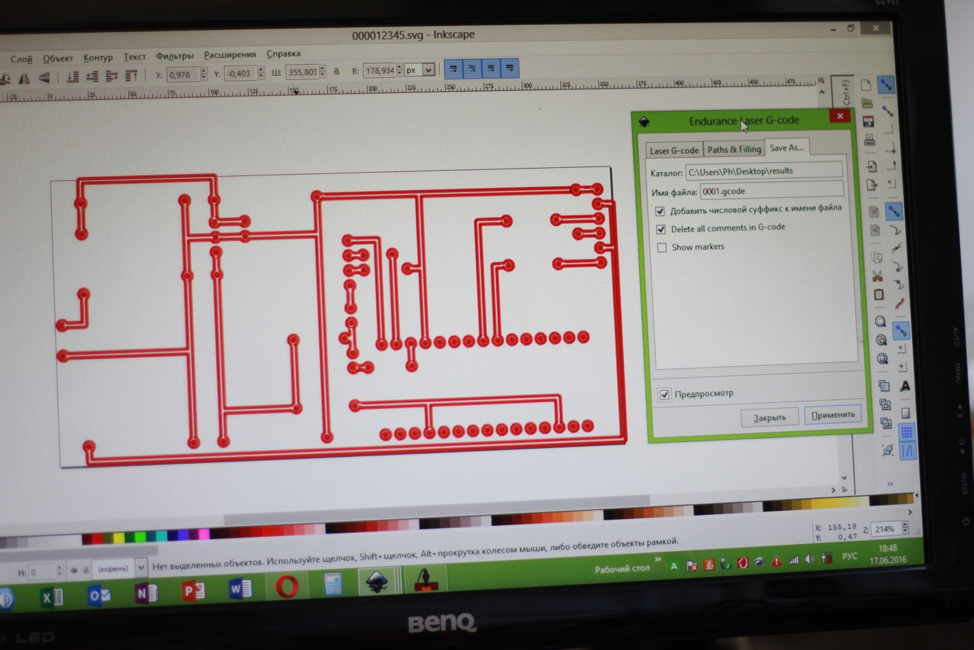
2) Convert it into the gcode.
Source: George Fomitchev
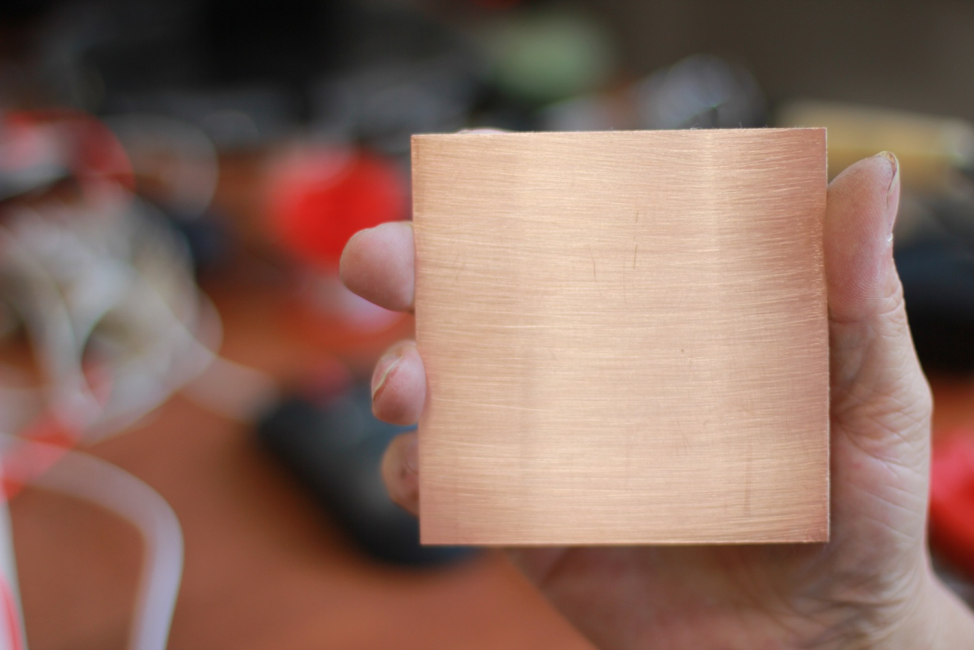
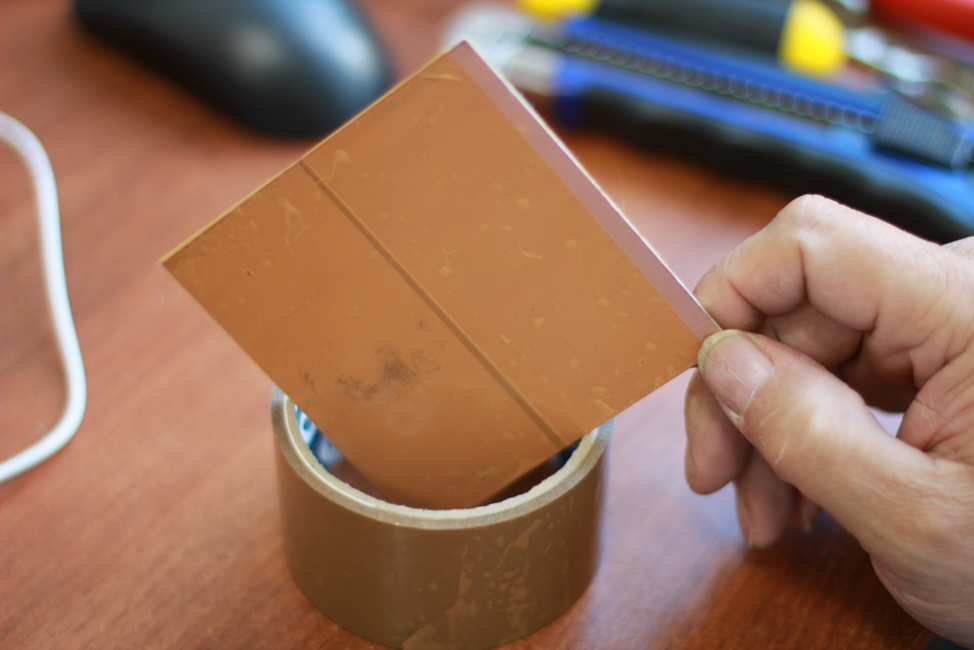
3) Stick the vinyl film onto the copperized plate of glass fiber.
Source: George Fomitchev
Source: George Fomitchev
4) Place the vinyl-coated glass fiber plate onto the work table of the 3D printer, and turn on the 3D printer in the laser cutting / engraving mode.
Source: George Fomitchev
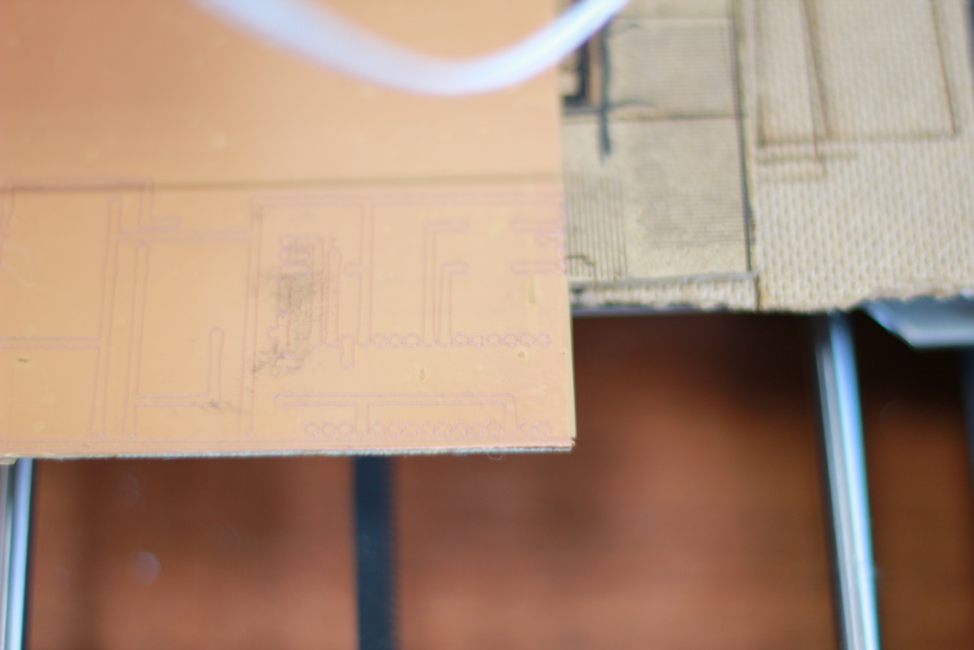
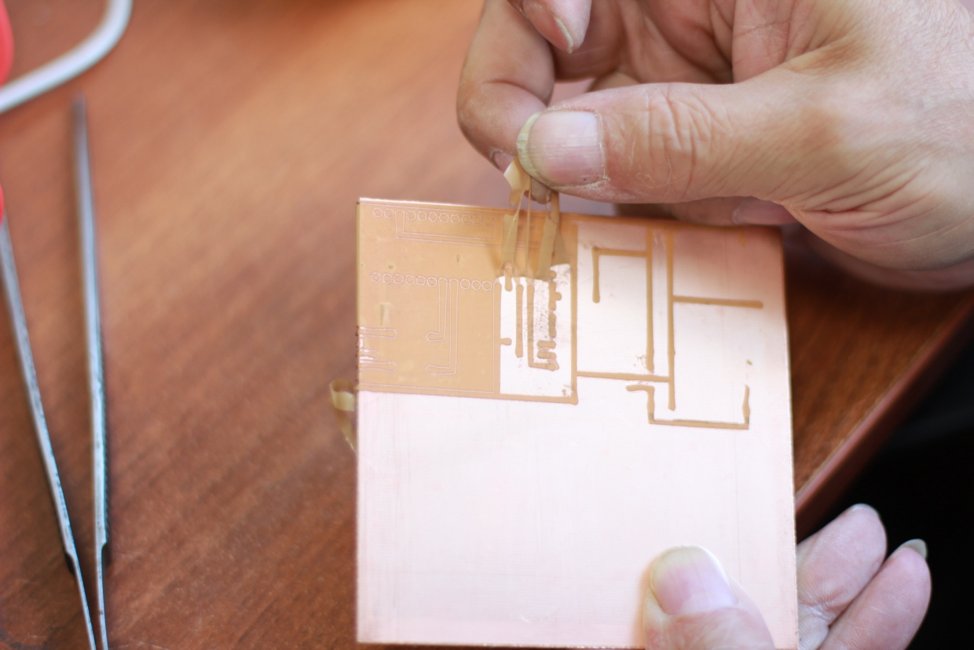
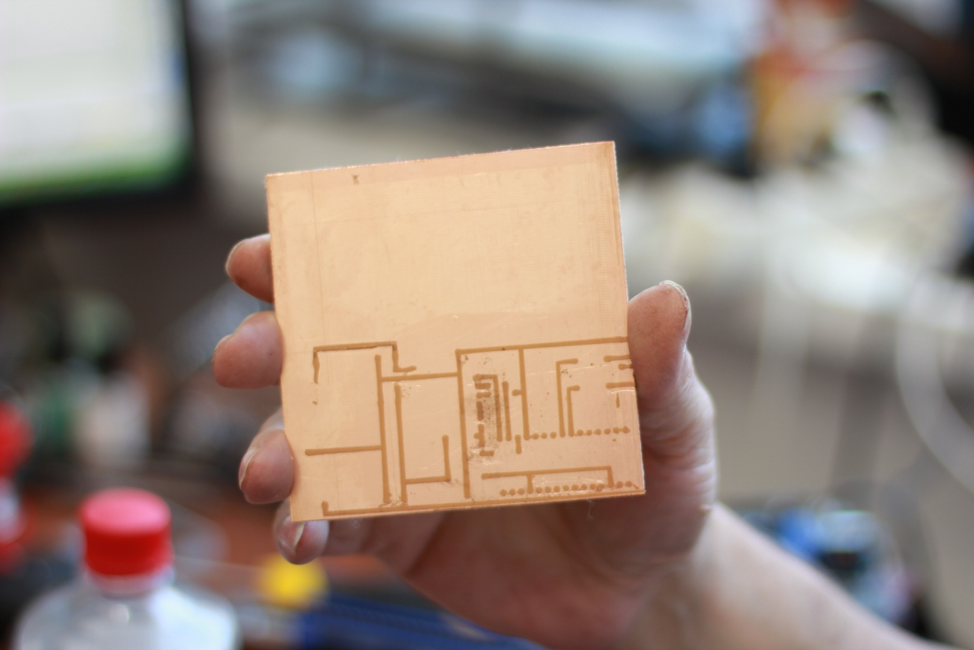
5) The laser will burn on the vinyl film an inversion image of the pattern.
Source: George Fomitchev
Source: George Fomitchev
Source: George Fomitchev
6) Dissolve the iron chloride powder in water (do not worry, no chemical reaction will follow).
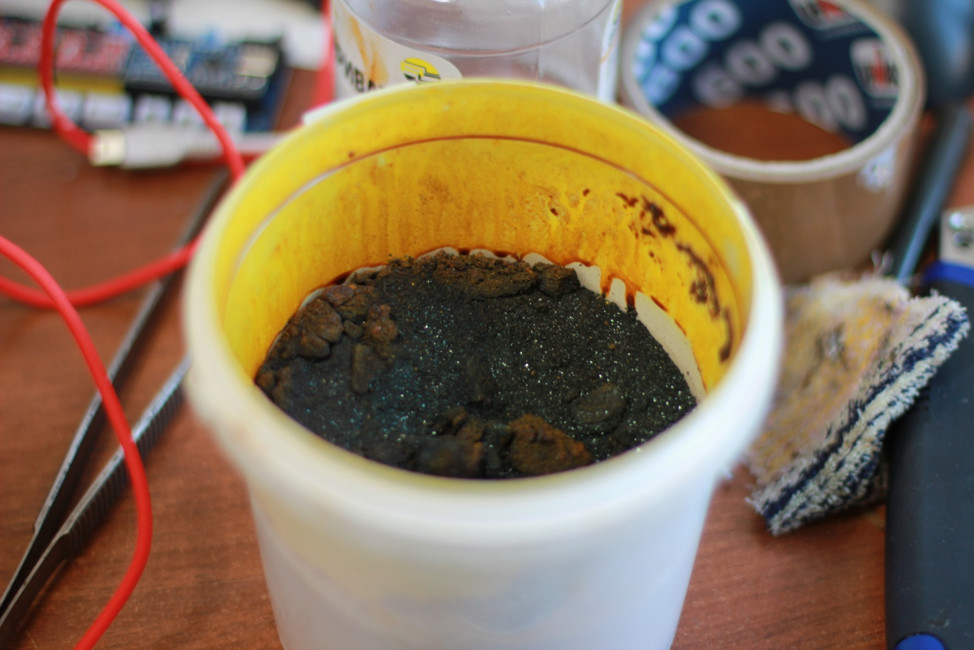
Source: George Fomitchev
7) Put the glass fiber plate into the iron chloride water for 45-60 minutes.
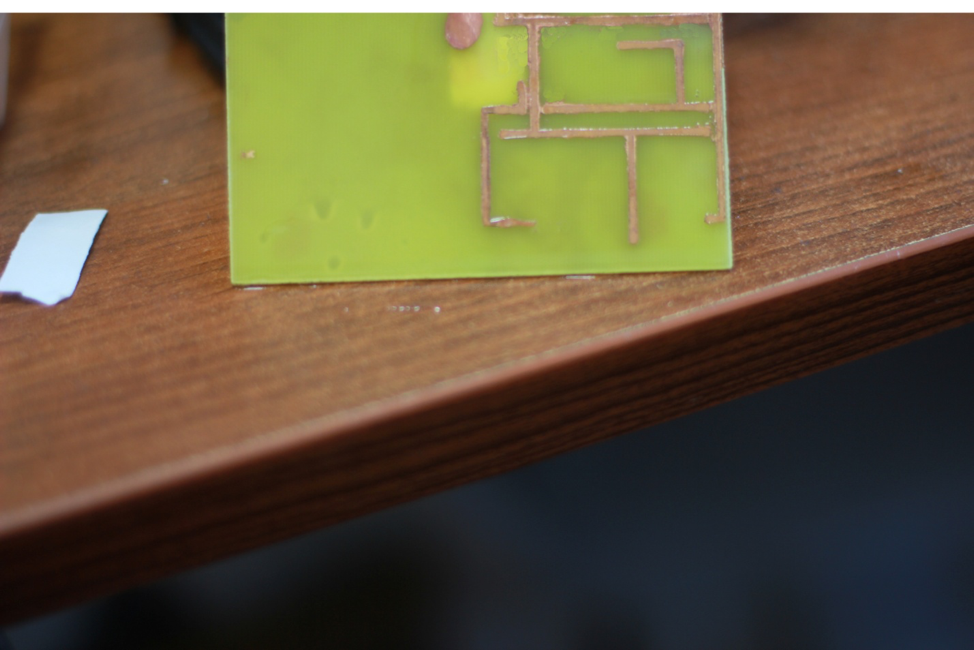
Source: George Fomitchev
The copper on the glass fiber surface, free of the film after the laser burning, will react with the iron chloride (copper etching chemical reaction) and goes into the solution leaving clean glass fiber in the contours of the inversion image.
Then, make holes for the necessary connectors with a small drill, or leave as is, and solder the connectors on top of the circuit board. Done!
So, we have told you how you can create a small shop – laboratory for circuit boards manufacturing, using a 3D printer and a laser.
The technology is not perfect and has several shortcomings, but it is efficient and can be used at home and small laboratories.
tags: c-Education-DIY

AUAI is supported by: